#DIY : Roses Garland.
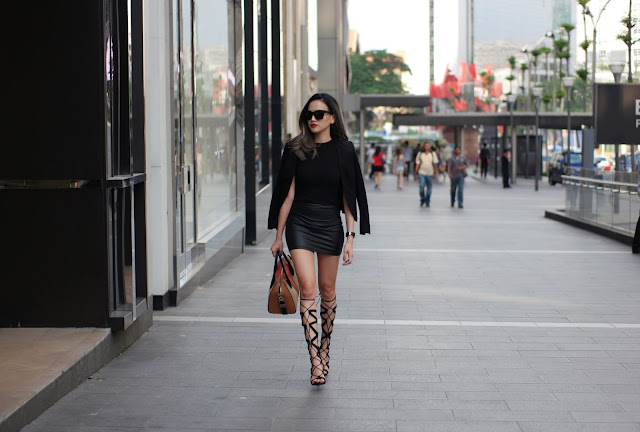
Remember my Lookbook picture?
Yes this one above.
I actually made the headband/garland on my own. Seeing how my body clock is abit messed u nowadays, I am getting crafty in the wee hours in the morning so I decided to use the time to do this.
Here's a step to step guide! Pretty simple actually but could get quite messy, so start of with a empty space for you to put everything right infront of you as the super glue dries very fast.
What you need :
1. Bunch/stalks of flowers of your choice. (I was inspired by Lana Del Rey, this was how the whole project started so I chose roses).
2. Plain hairbands, would be great if you could get them in your hair colour.
3. Scissors.
4. Ribbons or strings.
5. Super glue, but if you have a hot glue gun that would be so much better!
Step 1#
- Separate the flowers from their stalks. Cut anything if necessary, like if there's excess leaves on the flowers, leave the bottom part of the bud empty if possible, makes pasting them on the hairband easier and more fuss free. I removed every piece on the stalk so I could use them for something else instead of throwing them all away. I have the vines, the leaves, the tiny little flowers too. Place them all nicely infront of you, making it easier for you to grab them later on.
Step 2#
- Start of with glueing the flowers from the middle to the sides, keep going until you've reached three to four fingers space from the end of the hairband then stop. Measurements and how many buds you need per hairband depends on the size of your flowers. Mine was huge so I could only fit five.
- The ribbons were used to hold the flowers while they dry and not fall off or whatever.
Step 3#
- Voila! There you have it!
It is simple as that, try it yourself and share with me your outcomes.
Do feel free to drop me comments if there's any help needed.
Till then!
x


Comments